


You might think that soloing Shadowlands raids is an endeavor reserved for the elite few, but with the right preparation and knowledge, it’s within your grasp. As you stand at the precipice of this solitary journey, you’re not just a player—you’re the one-player army, the strategist, and the hero of your own epic saga. In the pages that follow, you’ll find a comprehensive guide that distills the essence of each raid encounter, breaking down complex mechanics into manageable solo tactics. You’ll learn how to optimize your character for the trials ahead, from gear and talents to consumables and covenant abilities. But knowing what lies ahead is just the beginning; the true test comes when you face these colossal adversaries on your own terms. So, sharpen your blades and ready your spells, for the path to solo glory is fraught with peril, but the rewards—both in loot and in personal triumph—are unparalleled. Stay tuned, as we’re about to unveil the strategies that will transform you from a solitary player into a soloing powerhouse.
Preparing Your Character
Before you venture into the challenging solo raids of Shadowlands, it’s crucial to ensure your character is properly prepared with the right gear and abilities. First, hit up the auction house for any missing pieces of gear that’ll give you the edge in both normal and heroic raids. Don’t overlook the potential of legacy raids for finding unique items that could be valuable in your solo endeavors.
Your goal is to tackle raid bosses head-on, which means you need to be strategic about your loadout. If you’re aiming for the high stakes of mythic raids, your gear should be top-notch. Make sure you’ve got the best enchants, and don’t forget to stock up on consumables that could turn the tide during a tough fight.
Castle Nathria Solo Tactics

Having prepared your character with the necessary gear and consumables, let’s now focus on the specific tactics for conquering Castle Nathria on your own. This lore-heavy raid presents unique challenges that require specific strategies to overcome when you’re flying solo.
For Shriekwing, be ready to dodge her Echoing Sonar and seek refuge during her Blood Shroud phase. Huntsman Altimor’s Sinseeker demands precise movement to avoid heavy damage, and in the case of Margore, Bargast, and Hecutis, prioritize kiting and controlling adds.
When you face the Hungering Destroyer, maximize your self-healing and mitigation to counteract the lack of external heals. Lady Inerva Darkvein’s bottles and adds can overwhelm you, so keep a close eye on her anima containers and manage them accordingly.
Artificer Xy’Mox will test your spatial awareness with portals and traps; stay nimble and anticipate his Glyph of Destruction. The Twin Emperors require a balance of AoE and single-target prioritization, while Sludgefist necessitates careful positioning to avoid destroying pillars prematurely.
For Sire Denathrius, managing stacks of Burden of Sin is crucial, as is positioning for his Massacre. In phase three, focus down those pesky Remornia adds quickly to avoid being overwhelmed.
With persistence and adaptability, you’ll master these Castle Nathria solo tactics and revel in the glory of your solo conquest.
Sanctum of Domination Strategies
How can you tackle the formidable bosses of the Sanctum of Domination when you’re going at it solo? It’s a challenge, sure, but with the right prep and knowledge, you can conquer these encounters. First off, gear up and make sure you’re using the best conduits and legendaries for your class. Start with The Tarragrue, where grabbing Anima Powers is key. Look out for the Ever-Beating Heart to nullify Chains of Eternity.
Moving on to the Eye of the Jailer, pay attention to the dragging chains and avoid the gaze to prevent unnecessary damage. For The Nine, focus on the order that you defeat the bosses and keep mobile to dodge their abilities. Remnant of Ner’zhul requires you to manage the orbs carefully, so they don’t overwhelm you.
For Soulrender Dormazain, handle the adds quickly and dodge the torment. Painsmith Raznal is all about pattern recognition – avoid his traps and spikes. Guardian of the First Ones tests your ability to manage energy cores and Purging Protocol. Fatescribe Roh-Kalo needs you to handle the runes with precision, while Kel’Thuzad demands attention to phylactery phases and add control.
The Tarragrue Encounter Guide

When facing The Tarragrue in the Sanctum of Domination, it’s crucial to select Anima Powers that bolster your survivability and damage output. Before engaging, make sure to grab four Anima Powers. If you come across Ever-Beating Heart, snatch it up—it’s a game-changer for this fight, nullifying the effects of Chains of Eternity.
Keep an eye out for The Tarragrue’s key mechanics. Chains of Eternity will root you and set you up for the following Annihilating Smash, which stuns and deals heavy damage. With Ever-Beating Heart, you can ignore Chains, but without it, you’ll need to be quick on your feet to survive.
If your initial powers aren’t ideal, use pillars to reset them. Survivability powers like Spectral Oats or Blade of the Lifetaker can be lifesavers. Adapt your strategy on the fly based on the powers you’re dealt.
Watch out for Overpower and Crushed Armor, which increase the damage you take. If you can dispel, remove Fury of the Ages quickly to prevent The Tarragrue’s enrage from overwhelming you.
Class-Specific Considerations
While adapting your strategy with Anima Powers is crucial, it’s also essential to consider the unique capabilities and tactics of your class during The Tarragrue encounter. Each class brings something different to the table, so let’s fine-tune your approach with some class-specific considerations:
- Death Knights: Leverage your Death Strike for healing. Anti-Magic Shell can mitigate magic damage and prevent harmful debuffs.
- Demon Hunters: Use your mobility to dodge mechanics. Fiery Brand can reduce the damage you take from the boss.
- Druids: Balance or Feral? Use your shapeshifting to your advantage. Restoration Druids, don’t forget about your powerful heals.
- Hunters: Misdirection can be useful even when solo to manage any adds. Exhilaration provides a nice self-heal.
- Mages: Ice Block can save you from a deadly mechanic. Consider using Alter Time wisely for a quick health or position reset.
Frequently Asked Questions
Can I Solo Shadowlands Raids With Any Class and Spec, or Are Certain Classes/Specs More Suited for Solo Raid Content?
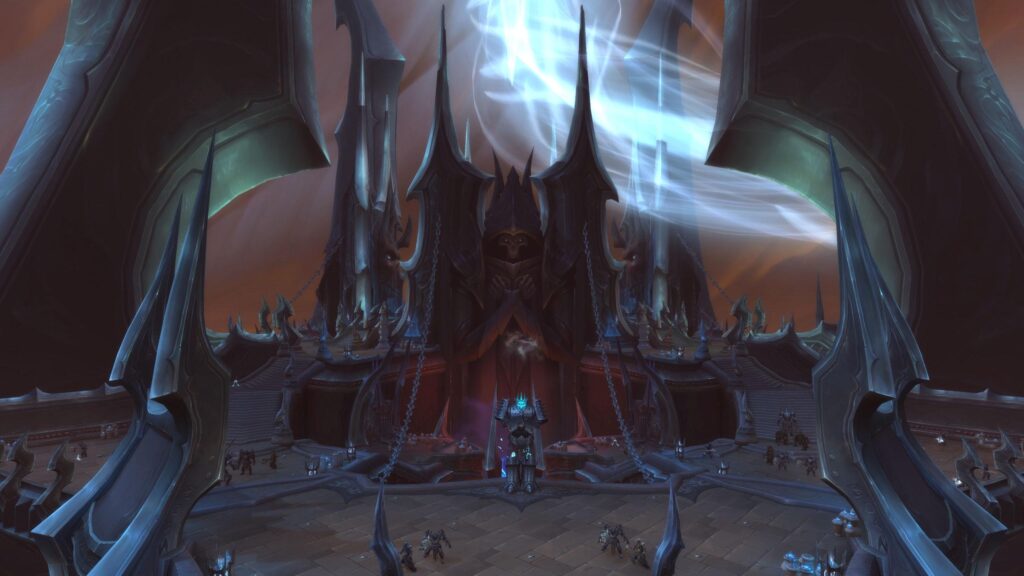
Like a tailor choosing the right fabric, you’ll find some classes and specs naturally suit solo raiding better. Tanks and self-healing specs often have an easier time, but with skill, any class can succeed.
How Do I Handle Mechanics That Normally Require Multiple Players When I’m Soloing a Raid?
When facing mechanics meant for groups, you’ll need to outgear the content, use self-heals, CCs, or immunity spells. Adapt tactics; some mechanics can be ignored or require specific positioning to solo.
What Should I Do if I Find That My Character Is Not Dealing Enough Damage to Beat a Raid Boss’s Enrage Timer When Soloing?
If you’re struggling with damage, it’s crunch time. Optimize your gear, review your rotation, and ensure you’re using all available buffs. Sometimes, a strategic tweak or gear upgrade is all it takes.
Are There Any External Resources, Such as Addons or Community Tools, That Can Assist Me in Soloing Shadowlands Raids More Effectively?

You can use addons like Deadly Boss Mods for real-time alerts and GTFO to avoid damage. Joining WoW forums and Discord channels offers community tips to enhance your solo raiding tactics.
If I Am New to Soloing Raids, What Are Some General Tips for Learning Raid Mechanics and Practicing Solo Strategies Without Getting Overwhelmed?
Like dipping your toes in the ocean, start small to get comfortable. Focus on one raid mechanic at a time; practice makes perfect. Don’t rush, and use guides to learn at your own pace.
Dive into the world of Azeroth with me
Leave a Reply